Magnetic letters are one of those things that parents often buy for kids but don’t really know what to do with them. The letters end up sitting on the fridge, collecting dust. What’s so great about magnetic letters is their versatility. They can be used in a variety of ways to promote children’s literacy development, from toddlers to primary school kids. I’m going to share with you some magnetic letter activities that you can do with your pre-school age child. For toddlers, read this post.
Working surfaces –The obvious surface on which to use magnetic letters is the fridge, but an easel with a magnetic chalkboard or whiteboard is ideal. If you want to work at a table or on the floor, another handy thing to use is a cookie sheet (this is what I used in my classroom for years!)
Hide ‘n’ Seek Letters
Mix letters your child knows in with other letters. Make sure you put them all right side up, as you would read them. Have your child find letters and move them to the other side of the fridge/board. (Your child is learning to visually discriminate letters in this activity.) You should prompt for letter names, letter sounds, and words that start with the letter.
Prompts to use: Can you find your letter___ (first letter of child’s name)? Can you find Daddy’s letter? I bet you can’t find the M! Find the letter that starts ‘sun’. Find the letter that sounds like /mmmm/.
Variation: Take turns being the “asker”. Have your child ask you to find a particular letters, too!
Making Names
Have your child make her name with magnetic letters. It’s okay if you write it down for them as a model to copy. (This activity teaches your child about sequencing letters.) Then ask:
- How many letters are in your name?
- What is the first letter of your name?
- What is the last letter of your name?
- Show me the capital letter. (If you are using upper and lower case.)
Then mix the letters up and make the name again. Make it more challenging by setting a time limit. E.g. Can you make your name before I count to 10?
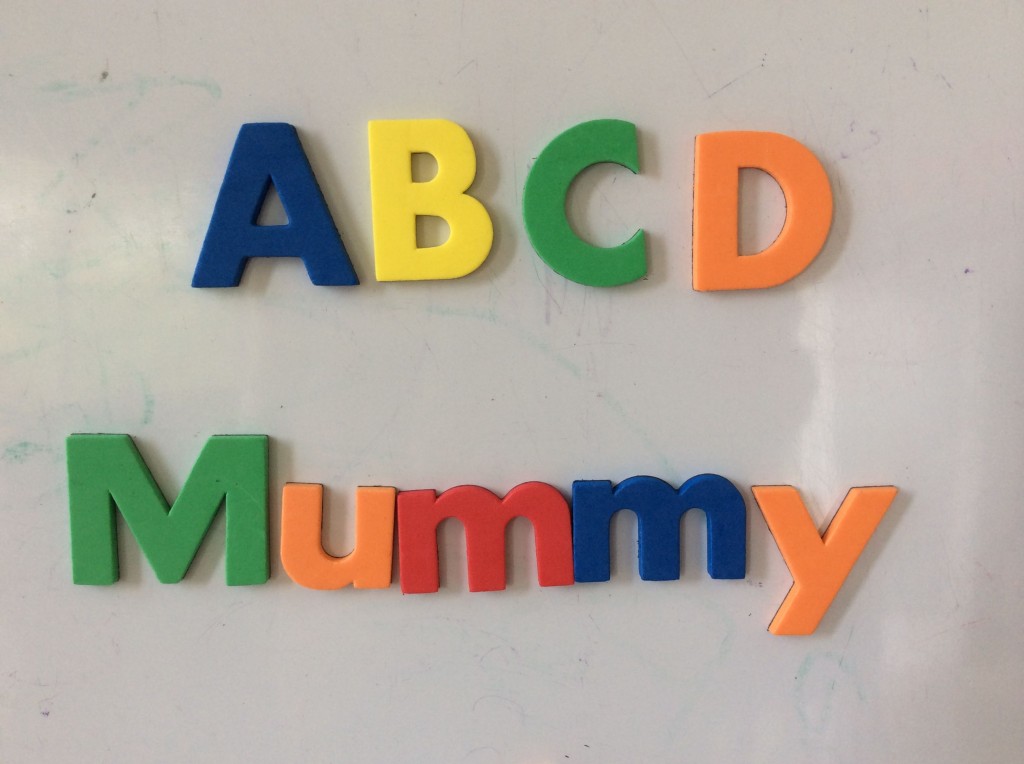
Variation: Make the name mummy (or your first name) and other family names. Or make your child’s full name.

Letter Sorting
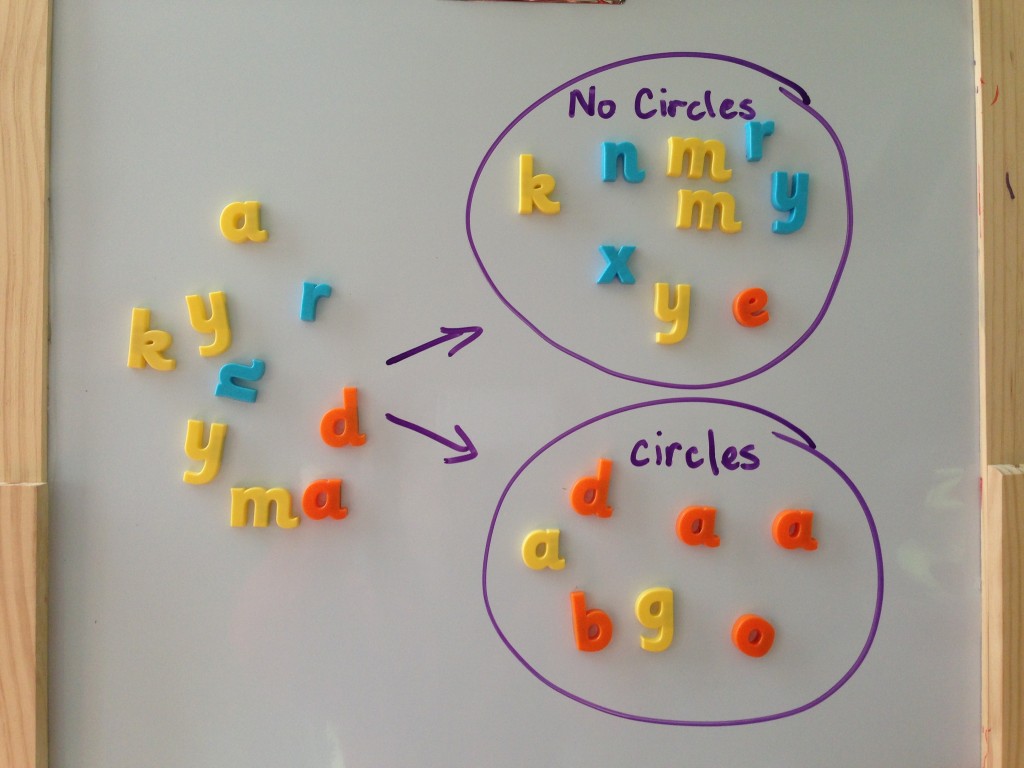
Start with many letters on the surface—maybe 15 to 20. Ensure there is a balance of the the two types of letters your child is sorting. It’s great if you have extras of the same letters. If doing it on a board where you can draw, make two big circles for sorting letters. Aim to get your child to sort faster over time.
There are various ways children can sort letters. All of these activities promote visual discrimination. This means kids need to look carefully at the distinctive features of each letter, and compare and contrast them with others. This skill is important when children start to read, as they need to be able to recognise letters very quickly.
Lower Case vs. Capitals
This is an easy letter sort to begin with.
Tall vs. Short
This works especially well when you mix both capital and lower case letters. It draws attention to the fact that capitals are all tall letters.
Sticks vs. No Sticks
Most letters contain straight lines – A, R, h, k, l, b. But a few do not – S, O, C.
Circles vs. No Circles
Many letters contain a circular or oval shape – a, b, d, g, o, p, q
Tunnels vs. No Tunnels
Some letters have ‘tunnel-like’ features – n, h, m. Drawing attention to these type of features should help kids when they start to write letters, as they will notice the similar letter formation.
Diagonal Lines vs. Vertical Lines
Many letters contain vertical lines, but some contain diagonal lines too – k, w, x, y, z
Letters in my name vs. Not in my name
This is a more challenging letter sort, as the child needs to be very familiar with his or her own name.
This is by no means an exhaustive list of how you can use magnetic letters with your child, but it is a start. As always, I would love to get feedback from people who try out these activities. Have fun!

