Magnetic letters are one of those things that parents often buy for their kids, but they don’t really know what to do with them. The letters end up sitting on the fridge, collecting dust. What’s so great about magnetic letters is their versatility. They can be used in a variety of ways to promote children’s literacy development. In my next couple of posts, I’m going to share with you some magnetic letter activities that you can do with your own kids! Today’s post is for parents who have toddlers, or children who know only a few letters.
Working surfaces –The obvious surface on which to use magnetic letters is the fridge, but an easel with a magnetic chalkboard or whiteboard is ideal. If you want to work at a table or on the floor, another handy thing to use is a cookie sheet (this is what I used in my classroom for years!).
Once your child knows a few letters (read: how to teach children their first letters) and is out of the putting-everything-in-her-mouth stage, she will be ready to play with magnetic letters! For this age group, I would stick to capital letters, but it’s not essential.
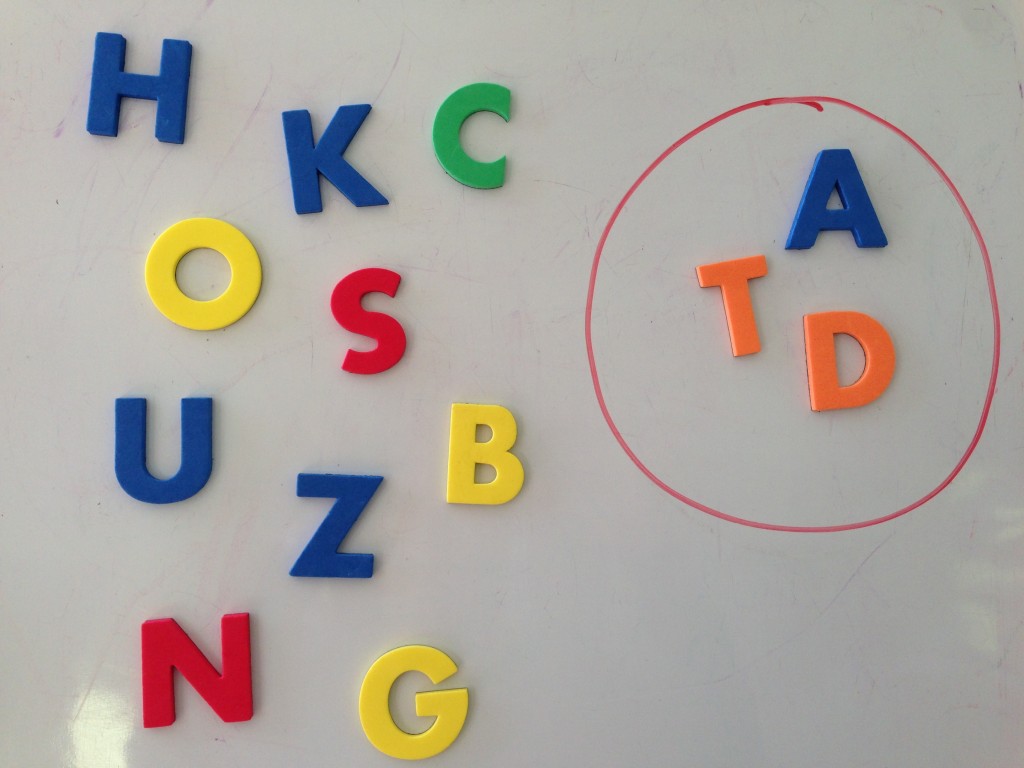
Hide ‘n’ Seek Letters
Mix letters your child knows with other random letters. Make sure you put them all right side up, as you would read them. Have your child find all the letters she knows and move them to the other side of the fridge/board. (Your child is learning to visually discriminate letters in this activity.) Mix the few letters back in and do it again a few times.
Prompts to use: Can you find your letter___ (first letter of child’s name)? Can you find Daddy’s letter? Can you find the [M]?
Variation: The fewer extra (unknown) letters used, the easier this task will be. To make it more challenging, increase the number of extra letters that your child has to search through. If you have duplicates of letters, make sure to include them.

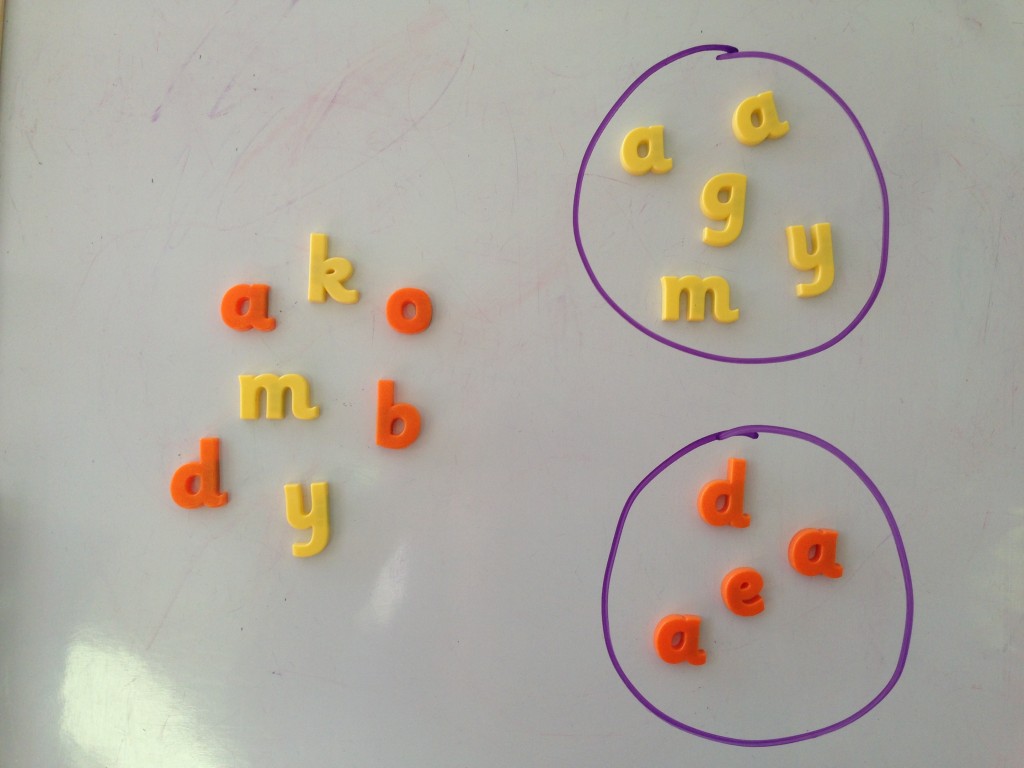
Letter Sorting by Colour
Start with lots of letters on the surface, but only of two different colours. (Lower and/or upper case is fine, as the object of this activity is not letter identification.) If doing it on a board where you can draw, make two big circles (one for each colour) to put the letters into. Have your child sort them into each colour group. (This activity promotes classification and colour recognition.)
Variation: To make it more challenging, use 3 or more colours, and add more letters to the original group.

Name-Making
I would not expect children at this stage to make their name with magnetic letters, but it is great for them to see it modelled by a parent. Over time they will come to recognise their name (it is usually the first word a child recognises). Young children, especially, learn so much by watching!
As you put your child’s name together, narrate as you do it. For example, E-That’s the first letter I need to make your name, Emily. That says /e/, for Emily. Emmm-the next letter is M. That says ‘em’. Next come I, then L, then Y! E-M-I-L-Y. Emily!
When they are a bit older, there are other things you can have them do with their name. I will share this—and much more—in next week’s post about magnetic letters for preschoolers. Please check back then!
